 SIGN IN / UP
 Control Panel







Ollama is a platform for running large language models locally. It handles downloading, storing, and running models via a single command-line interface, while also exposing a REST API for connecting external applications. In the marketplace image, Ollama comes bundled with Open WebUI, a web interface for interacting with models through a browser.
Why keep an LLM on your own server? Your data never leaves your infrastructure. There are no token or request limits. You can also run specialized and fine-tuned models that aren't available in cloud services.
The marketplace image deploys the entire environment in just 1–2 minutes, including Ollama, Open WebUI, and basic password protection. From there, all you need to do is download your desired model and start working.
Requirements
An account with a VPS provider that features an image marketplace
VPS with at least 2 vCPU and 4 GB RAM
For 7B parameter models: 8 GB RAM (minimum)
For 13B parameter models: 16 GB RAM
Deploying a Server from the Marketplace
In the provider's marketplace, find the Ollama image and click Deploy. Choose your server configuration:
CPU: 2–4 vCPUs
RAM: 8 GB (for 7B models) or 16 GB (for 13B models)
Disk: 40–80 GB SSD (each model takes up about 4–10 GB)
Set a password or attach an SSH key, then click Create. The server will be ready in 1–2 minutes.
Connecting via SSH
Linux / macOS:
ssh root@IP_Servers
Windows - PowerShell или PuTTY:
ssh root@IP_Servers
Enter the password you set during the VPS creation, or use your SSH key.
Getting Credentials
The image comes with HTTP Basic Auth at the entry point to Open WebUI. The username and password for this security layer are stored in the /root/.password_credentials file. View them using the following command:
cat /root/.password_credentials
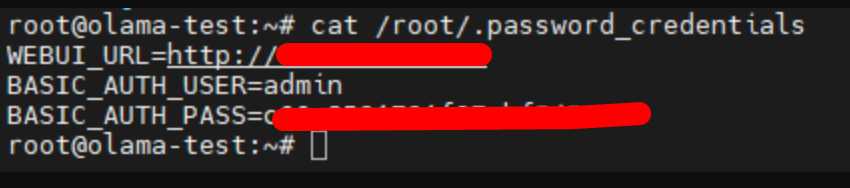
The file contains two values:
HTTP Basic Auth username
HTTP Basic Auth password
Save them — you will need them for your first login in the browser.
Accessing the Web Interface
In your browser, navigate to your server's IP address:
http://IP_SERVER
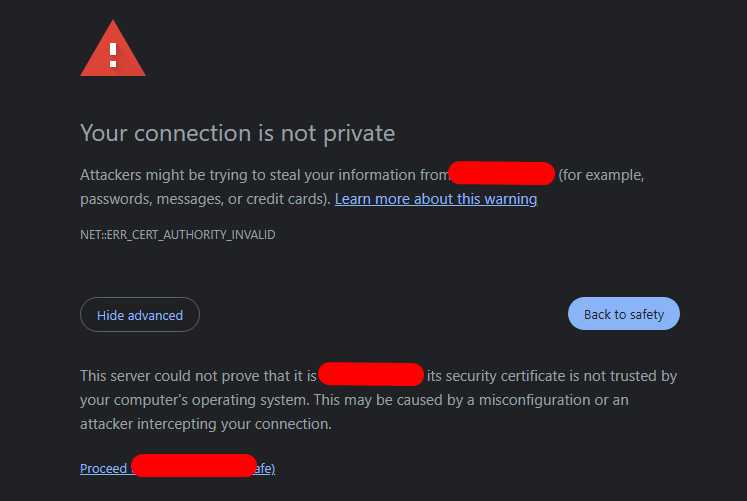
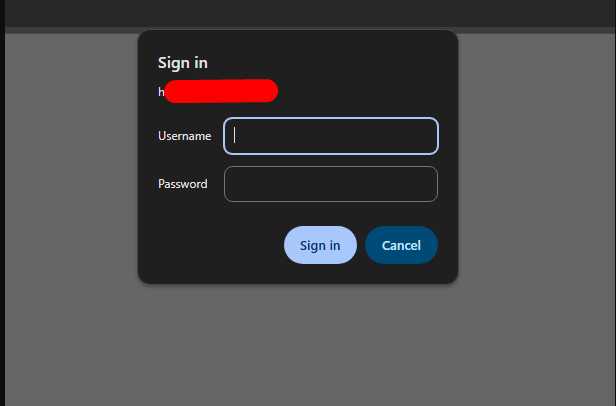
The browser will display an HTTP Basic Authentication dialog. Enter the username and password from the /root/.password_credentials file.
If your browser displays an SSL certificate warning, you can safely ignore it and proceed — this is normal for HTTP access via an IP address.
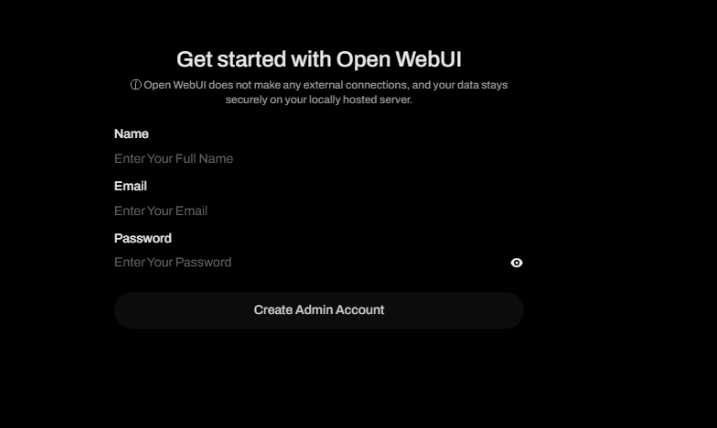
Once authorized, the Open WebUI administrator account creation page will open. Fill in your name, email, and password. The first account created automatically receives administrator privileges.
Disabling HTTP Basic Auth
HTTP Basic Auth is only needed during the initial deployment, before Open WebUI is protected by its own authentication system. Once you create the administrator account, you can safely disable it.
Go back to your SSH session and run:
/root/disable_basic_auth.shAfter doing this, use the email and password you configured during the admin account creation to log into Open WebUI. HTTP Basic Auth will no longer be requested.
Downloading Your First Model
The image comes without any pre-installed models — you need to download them separately. Downloading is done via the Ollama command-line interface.
Connect via SSH and run the model:
ollama run llama3

Upon the first run, Ollama will automatically download the model from the official registry. For llama3, this is about 4.7 GB. You can track the download progress directly in the terminal.
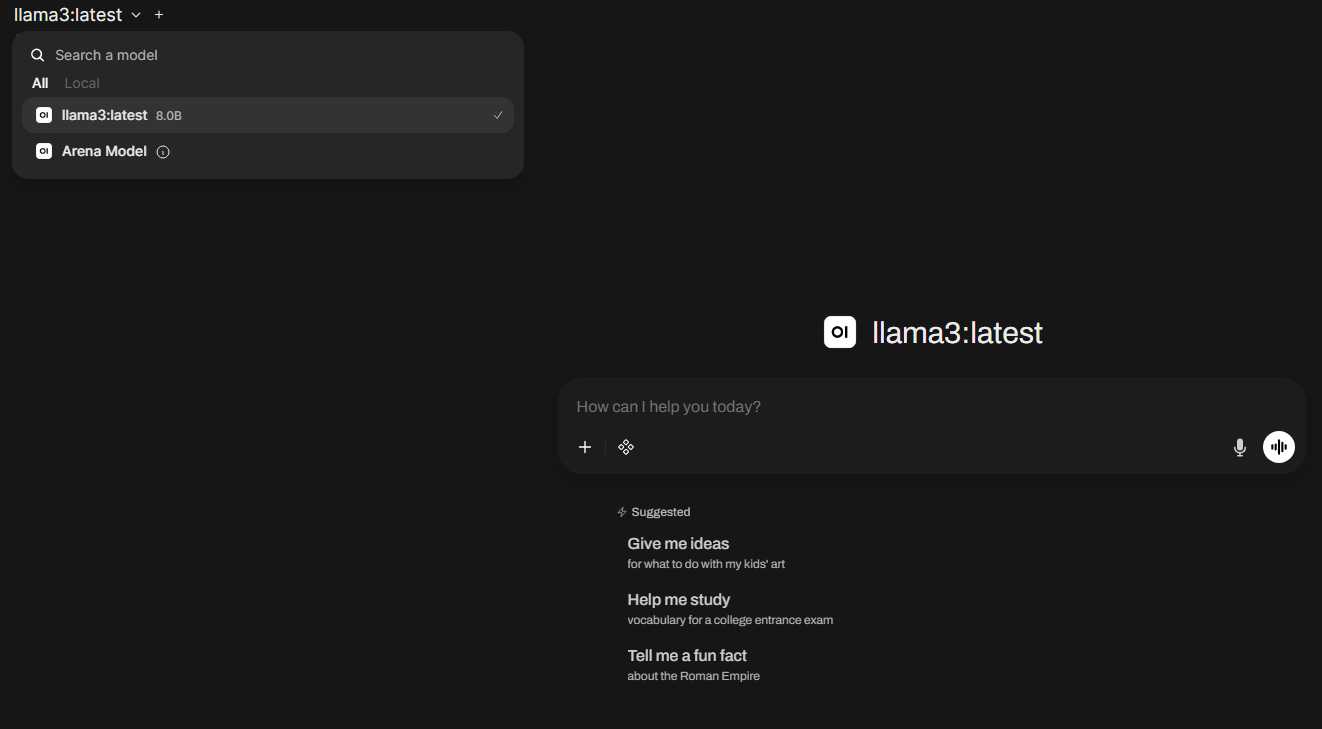
Once the download is complete, the model will automatically appear in the Open WebUI model list — simply select it from the dropdown menu and start your conversation.
Choosing Which Models to Download
The choice of model depends on your server resources and the task at hand. Here are a few popular options:
| Model | Size | RAM | Capabilities |
| llama3.2:3b | ~2 GB | 4 GB | Fast responses, basic tasks |
| llama3.1:8b | ~4.7 GB | 8 GB | High-quality text generation |
| mistral:7b | ~4.1 GB | 8 GB | Code generation, analysis |
| qwen2.5:14b | ~8.9 GB | 16 GB | Complex reasoning |
| deepseek-r1:7b | ~4.7 GB | 8 GB | Logic and mathematics |
Full Model Catalog: ollama.com/library
You can also download an additional model without leaving the interface via Settings → Models in Open WebUI: enter the model name and click Pull.
Managing Models via CLI
Ollama also works without Open WebUI — directly through the terminal:
# List downloaded models
ollama list

# Run a model in interactive chat/dialog mode
ollama run mistral:7b

# Download a model without running it
ollama pull qwen2.5:14b

# Remove/delete a model
ollama rm llama3

# Show detailed information about a model
ollama show mistral:7b
The Ollama REST API is available at http://localhost:11434. Through it, models can be connected to third-party tools such as Continue.dev, LangChain, LiteLLM, or your own custom scripts.
Here is an example of an API request:
curl http://localhost:11434/api/generate -d '{
  "model": "llama3.1:8b",
  "prompt": "Что такое Docker?",
  "stream": false
}'
What to Configure Next
After the basic setup, it is highly recommended to do the following:
Set up Nginx with Let's Encrypt: This allows you to work over secure HTTPS via a domain name instead of insecure HTTP via an IP address. A configuration example is detailed in a separate article about Nginx Proxy Manager.
Configure User Management: In Admin Panel → Users, you can create accounts for your team, restrict access to specific models, and assign roles.
Set up Automatic Updates for Ollama: New versions are released regularly, adding support for new models and optimizations.
Check your current version:
ollama --version
Update:
curl -fsSL https://ollama.com/install.sh | sh
The marketplace image provides a ready-to-use AI environment with zero manual setup: Ollama + Open WebUI + basic password protection. You can launch your first model with a single command. From there, you are ready to choose your models, fine-tune the interface, and connect everything to your own applications via the API.
 CLOUD VPS
  DEDICATED SERVERS
  HOSTING
  3 months