
Looking for an effective framework for web application development? Laravel — is one of the most popular frameworks for developing web applications in PHP. This open-source tool is designed to speed up the development process and simplify the work of programmers. Laravel on the server provides powerful features such as routing, database migrations, RESTful API support, and built-in authentication mechanisms. With its flexible architecture, Laravel allows you to focus on creating functional solutions while minimizing complexities with low-level tasks.
The pre-installed version of Laravel on VPS includes a configured Laravel web server, installed dependencies, and a database, making it ready for deployment and launch. If you are working on a project locally, the Laravel local server provides a convenient environment for development and testing.
Deploying and Configuring the Laravel Server
1. Deploying the Server
To work with Laravel, first deploy the server through the Marketplace.
2. Connecting to the Server
Connect to the server via SSH. Use the appropriate guide depending on your operating system:
Linux/MacOS: Open the terminal and execute the command to connect.
Windows: Use programs like PuTTY or the built-in PowerShell.
To log in, you will need the password specified when creating the server or an SSH key. If you do not know how to create an SSH key, refer to your provider's recommendations.
Database and File Configuration
Viewing Database Connection Data
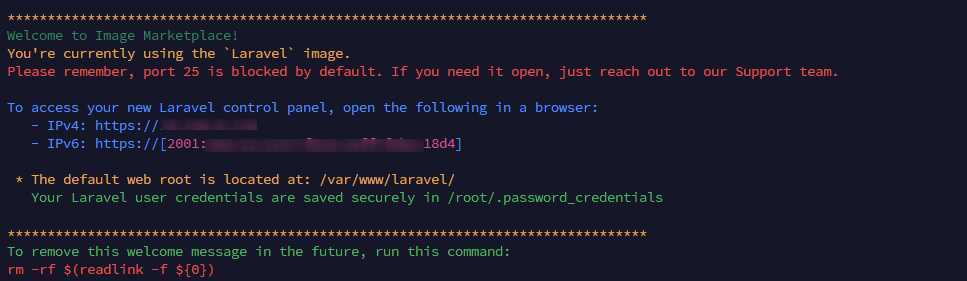
After logging into the server, you will be able to find the database connection data. They are stored in the file /root/.password_credentials.
To view the contents of the file, execute the following command in the terminal:
cat /root/.password_credentials

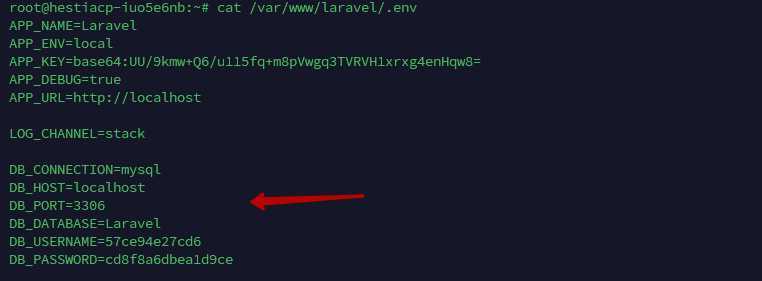
These credentials are already configured in the Laravel configuration file .env, which is located at /var/www/laravel/.env.
Where are the Laravel Files Located?
The root directory of your Laravel application is located in the folder /var/www/laravel/public/. This folder contains the files of your site that will be visible to users.
Security and Website Launch
Setting Up an SSL Certificate
To ensure a secure connection, it is recommended to install an SSL certificate. Before that, make sure that your website's domain points to the server's IP address. If the domain is not yet set up, update the DNS records according to your provider's instructions.
To obtain a free Let's Encrypt certificate, execute the following command:
certbot --nginx
During the installation, follow these steps:
Enter your email, for example: admin@yourdomain.com.
Agree to the terms of use by pressing Y.
Specify the domain name without the www or http/https prefixes, for example: example.com.
Opt out of sending email data for statistics by pressing N.
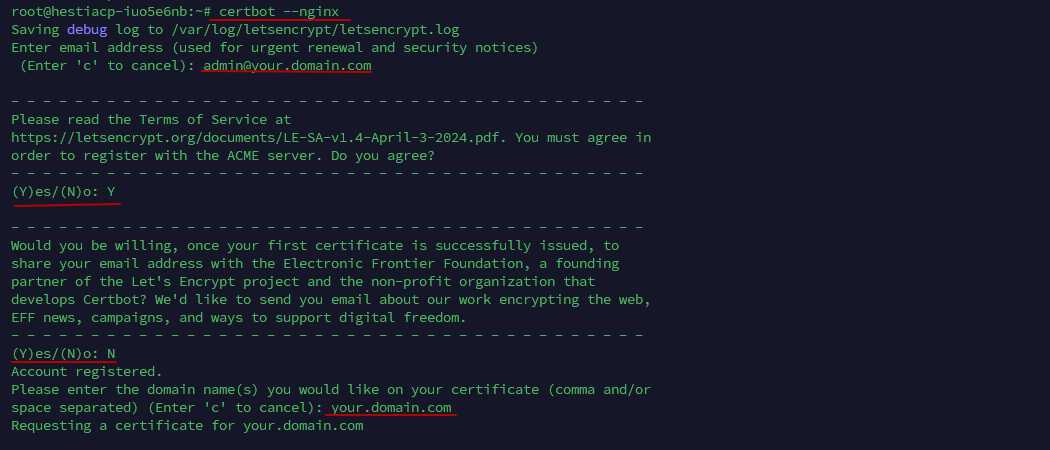
The certificate issuance process takes about 5 minutes.
How to Open the Site?
After setting up the server and uploading the site files, your project will be accessible in the browser.
If you already have a ready site, copy its files to the directory /var/www/laravel/public/.
Open the browser and enter the server's IP address or your domain name, for example: https://11.22.33.44.
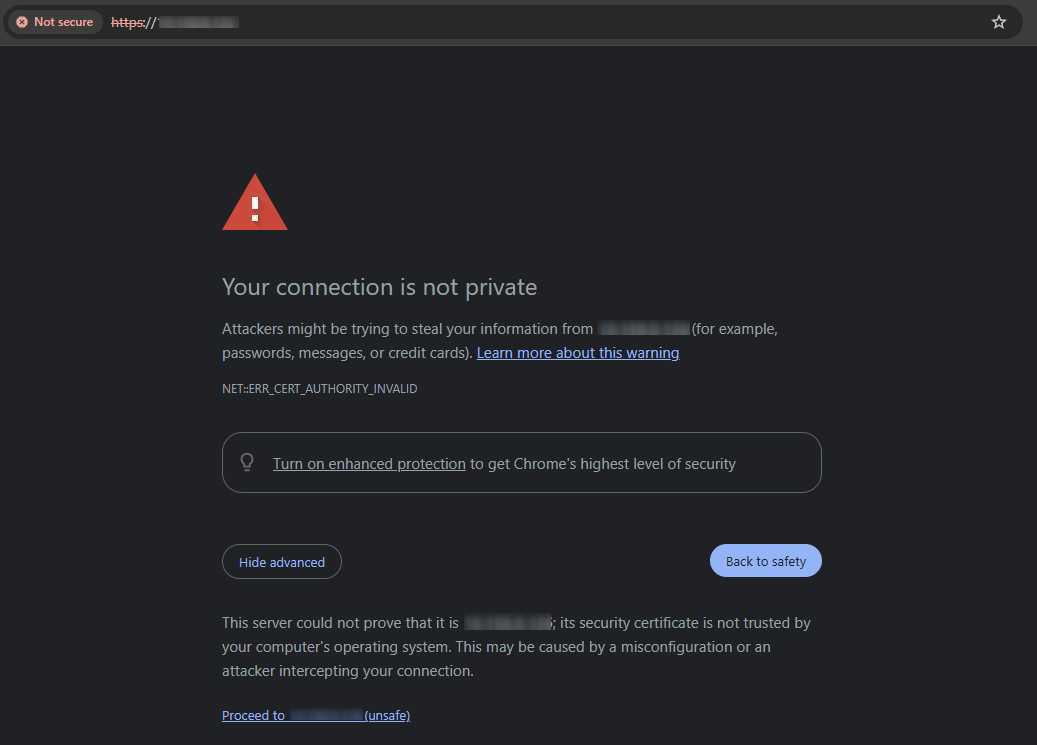
Note:
If the SSL certificate is not yet installed, the browser may warn about the insecurity of the connection. This message can be bypassed, but for complete setup, it is recommended to install the certificate.
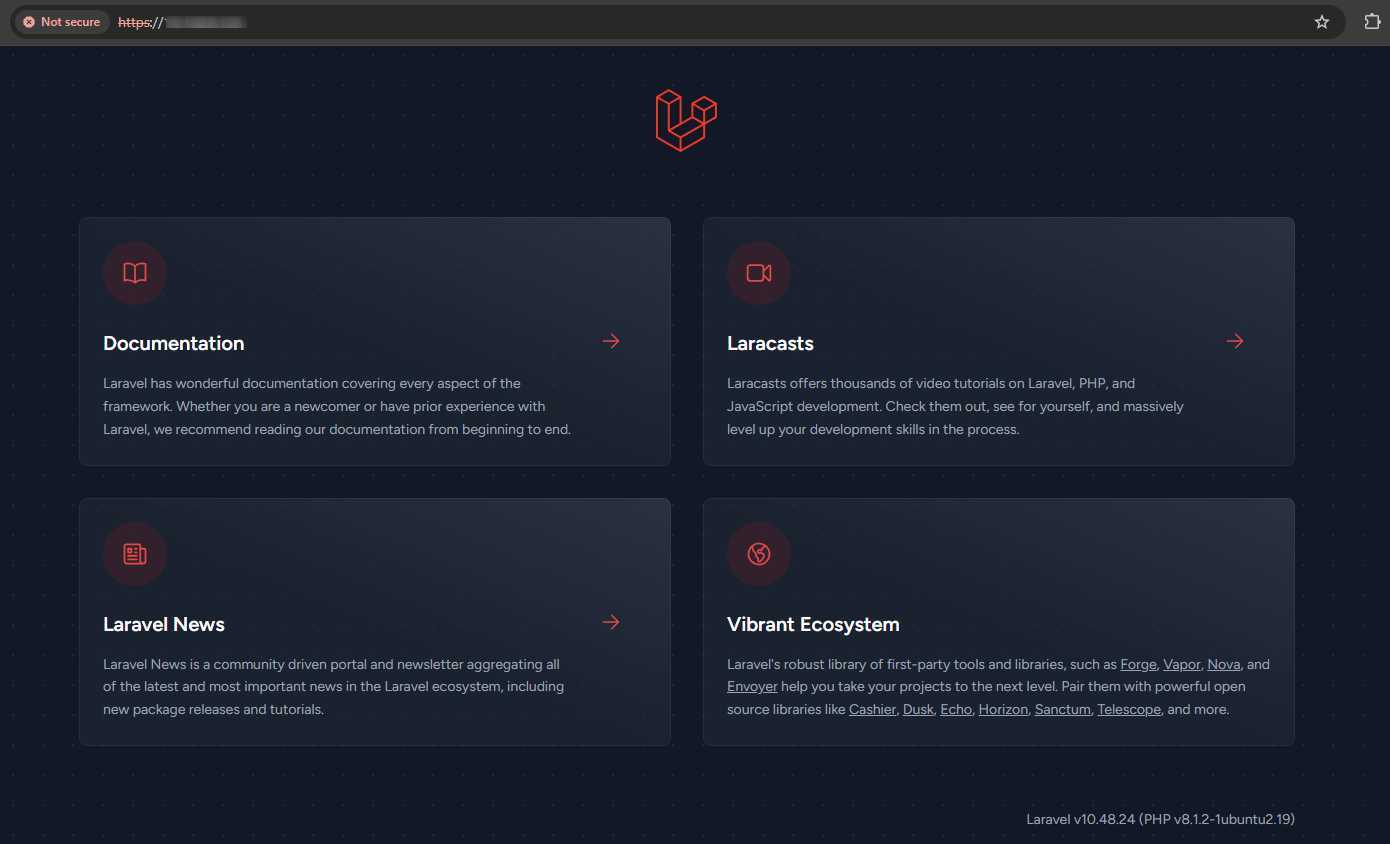
Opening the Website
Successful Launch
After completing all the steps, you will see either the standard Laravel page or your uploaded site.
Conclusion
Laravel — is a powerful and convenient tool for creating modern web applications. It provides a wide range of features necessary for implementing complex solutions. With Laravel installed on a LEMP-based server and a configured framework, you are ready to develop new routes, views, and functionalities.
Consider using Laravel on VPS to ensure the scalability and reliability of your application. It is recommended to familiarize yourself with the official Laravel documentation to learn more about the framework's capabilities and properly configure the project for long-term operation. Good luck with your development!